If you offer different games in different rooms and want to let customers choose a game, but can only offer one game at a time- perhaps you have only one staff person available- please follow the steps below.
In this article:
- Step 1 - Set up a resource
- Step 2 - Create your games
- Step 3 - Enable virtual rostering
- Step 4 - Assign the resource to your games
Step 1 - Set up a resource
Set up a resource in Settings > Resources. You can set up a resource type called something like 'Staff', or anything you'd like, then list one resource. You can use the staff person's name or just a general term like 'staff person'. You can find instructions on how to create resources in our tutorial here
Step 2 - Create your games
Create your games if you have not already created them. Most games are set up as weekly group games. You can find the tutorial on how to set up this type of game here
Step 3 - Enable virtual rostering
1. Go to Settings > Tours/Activites
2. Click on a game
3. Go to the Schedule tab
4. Tick the box in the Virtual roster section as shown below
5 Save your changes
6. Repeat for the other game(s)
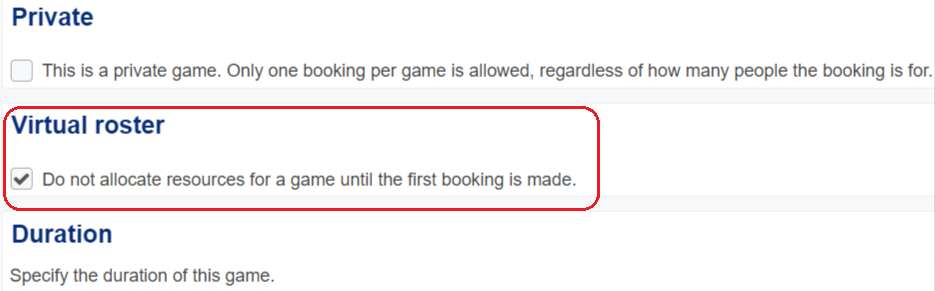
Virtual rostering lets you share a resource between multiple games so that when there is a booking for one game, the other game at the same or overlapping time assigned to the same resource will be automatically canceled. You can learn more about virtual rostering here
Step 4 - Assign the resource to your games
Assign the resource to all of the time slots in the Schedule tab of the Settings for BOTH games. 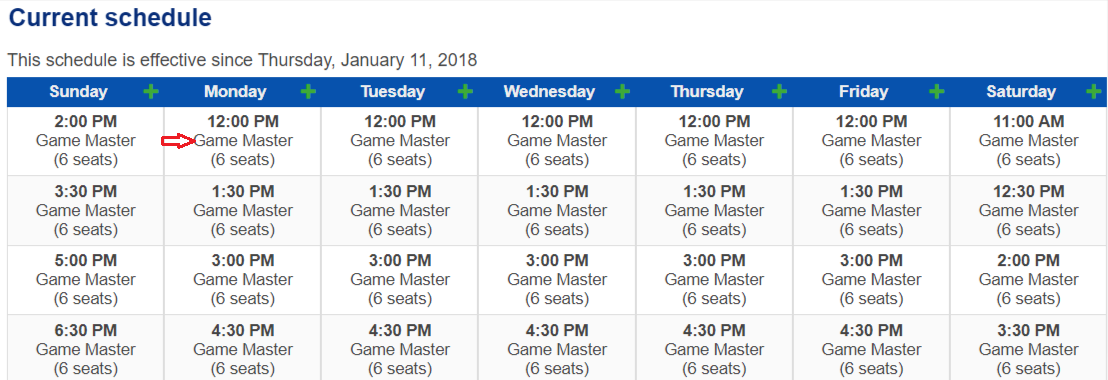
You can find instructions on how to assign resources in our tutorial here